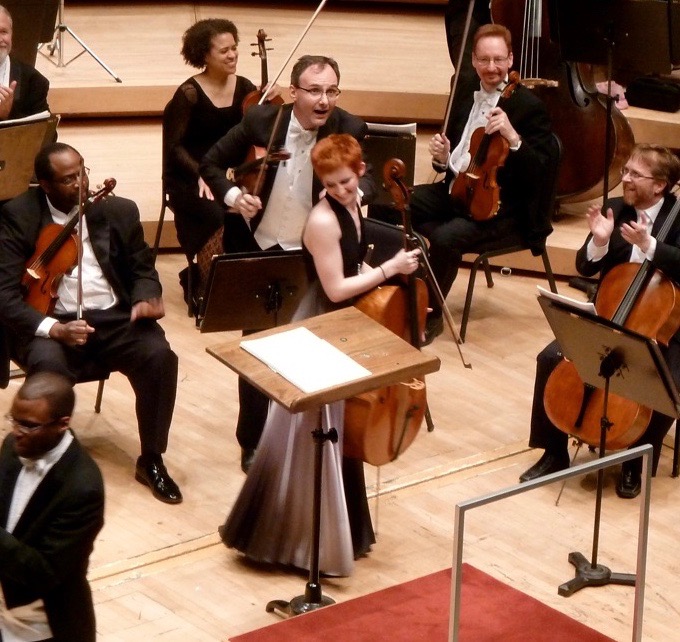
As a violin teacher, one of my top priorities is that my beginner students learn to produce a resonant tone quality. A few weeks ago, while listening to a seven-year-old student play, I found myself offering various reminders. “Straight bow!” “Posture!” “Soft thumb!” The student tried her best to make adjustments mid-piece. But when she finished playing, she wailed, “There are so many things to remember!”
I had to agree with her. Even beginner students need to develop a lot of skills to play with good tone. I decided to make a list of only the most essential skills needed to improve tone quality for beginner violinists. Of course, advanced students also need to review these skills from time to time. The goal is for muscle memory to take over so that your body does all these things automatically. Eventually, students will layer more advanced techniques on top of these essential skills.
Here are seven essential ingredients for resonant tone quality for beginning (and advanced) violin students:
1. Strong and balanced posture
Stand tall, balancing equal weight on each leg, with your back straight and chest broad. Hold the violin with the strings parallel to the ground. When the violin strings are positioned flat – like a table – the bow can create more friction against the strings. With the strings supporting the bow, the player can rely on gravity to assist in tone production. This prevents the player from exerting effort to hold the bow against the strings. Ultimately, this set-up produces a louder, more resonant tone quality.
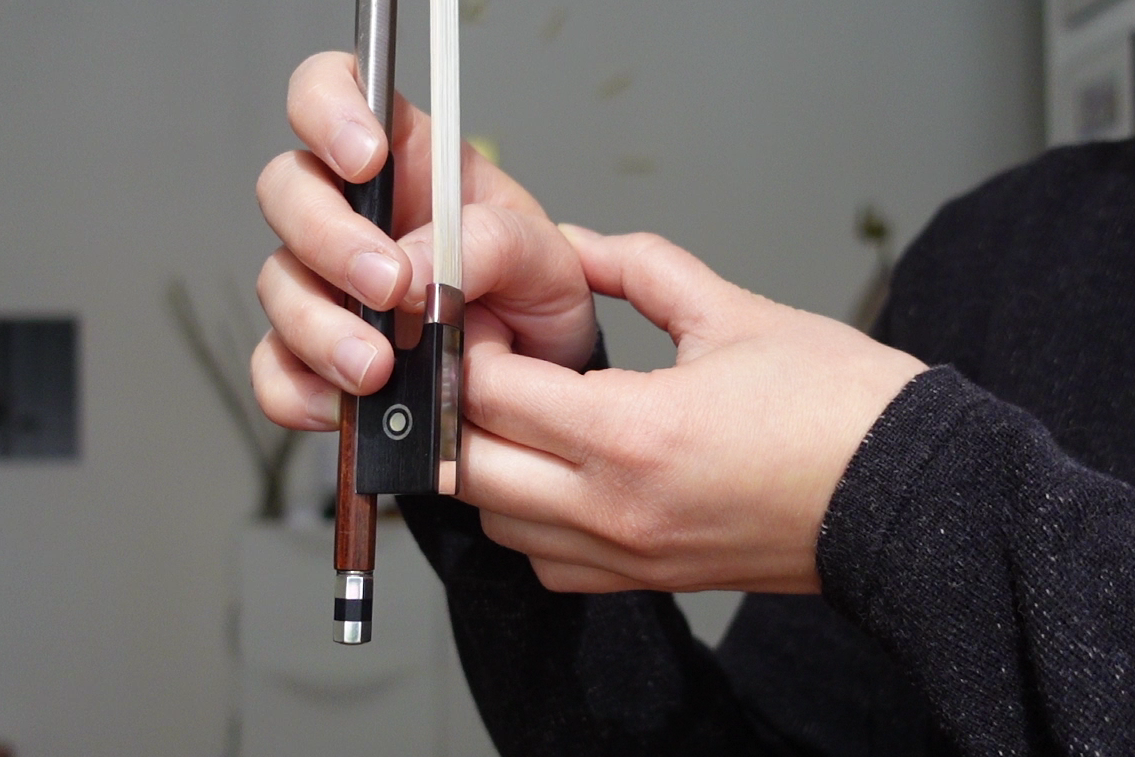
2. Soft right-hand thumb
“Soft thumb” is one of the first concepts I teach to beginners of any age. When the thumb of the bow hand is soft and relaxed, the bow will create a soft, resonant tone. You can check if your thumb is relaxed by squeezing the muscle gently with your other hand. If it feels soft and squishy, that is a good sign. Otherwise, if the thumb muscle is hard and tense, the sound becomes crunchy and scratchy. If a student already has developed a habit of tensing while playing, this can be tricky to unlearn. The student may need consistent reminders from the teacher and parent (if the student is a child). For older students, my advice is to stop playing as soon as you notice that your bow thumb has become tense. Re-set your bow hand and then resume playing again.
3. Relaxed right arm and shoulder
Just as with the thumb, the player must also relax their arm and shoulder. I have noticed many students who tense their right arm and shoulder, essentially working against gravity. (You may have noticed by now that gravity is a really important tool for playing the violin. It’s such a great tool- and so easily accessible to us- we should accept gravity’s help all the time!) When a student’s right shoulder has shrugged up a few inches while playing, I do a little exercise with them. I place my hand under their right elbow and ask them to make their right arm heavy in my hand. This requires the student to totally relaxed their arm and shoulder. If they can create this relaxed, heavy arm feeling while playing, their tone will naturally become richer and more resonant.
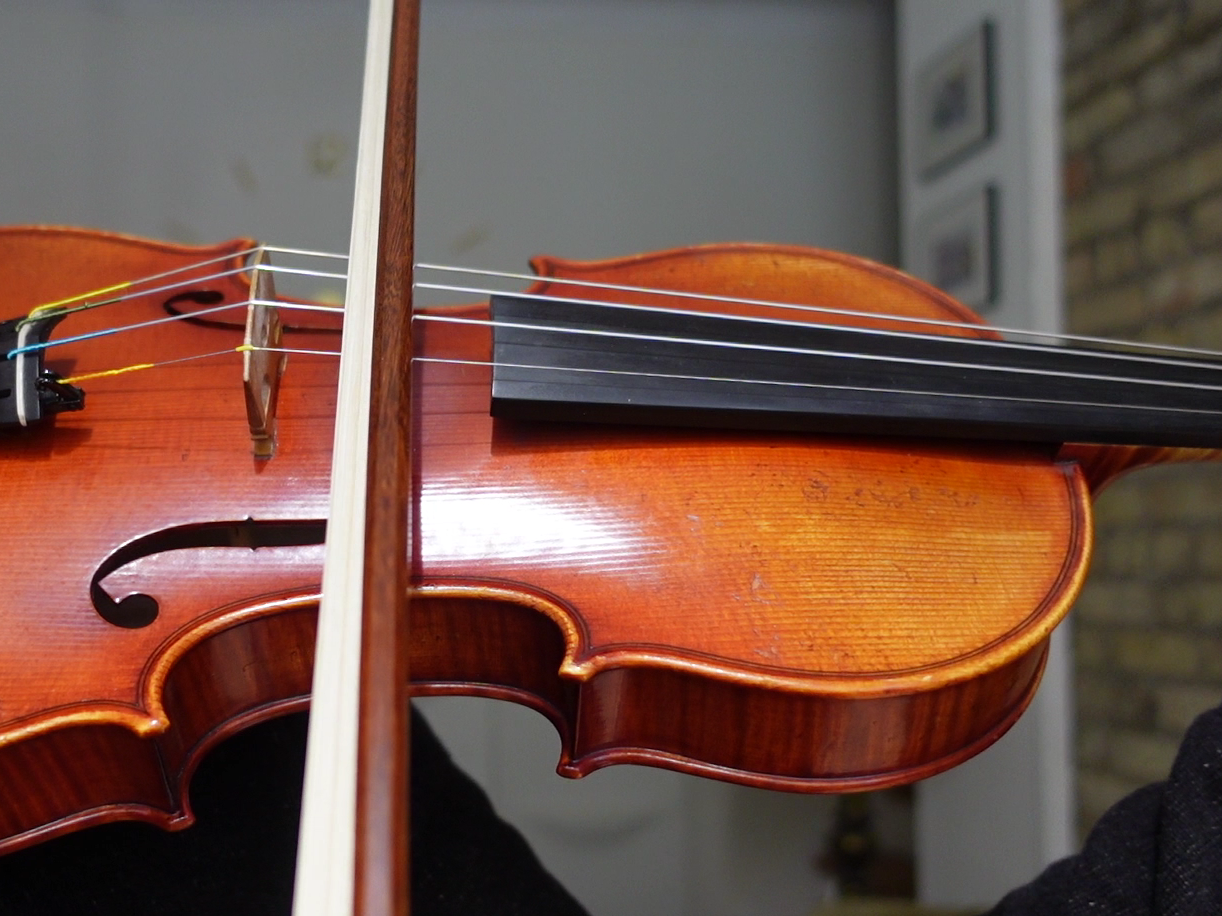
4. Bow moving straight (parallel to the bridge)
The bow should move in a straight line – meaning parallel to the bridge, or perpendicular to the strings. When the bow moves at a diagonal compared to the bridge, tone quality suffers. However, it can be difficult to see if the bow is moving straight just by directing your eyes to the contact point. Since the bow is so close to one’s face, the angle of the bow will appear distorted. I remember training myself to play with a straight bow by practicing in front of a mirror. For some students, using a mirror is a good tactic. But many other students need to develop this skill solely by training their muscle memory.
I have seen violin teachers using all sorts of creative tools for training bow arm muscle memory. Toilet paper rolls could be used to guide the bow in a straight path. Bow-stopper toys that attach to the violin can prevent the bow from going over the fingerboard. In lieu of tools, I will place a gentle hand on a beginner student’s right elbow while they play. This encourages them to keep their upper arm still. Moving only from the forearm keeps the bow moving in a straight line. This works if the student is a beginner and using a small portion of the bow.
As the student uses more bow, they can try an exercise from Simon Fischer. It requires an assistant to hold the bow against the string while the student moves their hand along the stick. This creates the feeling of moving their hand in a straight line using the bow stick as a guide.
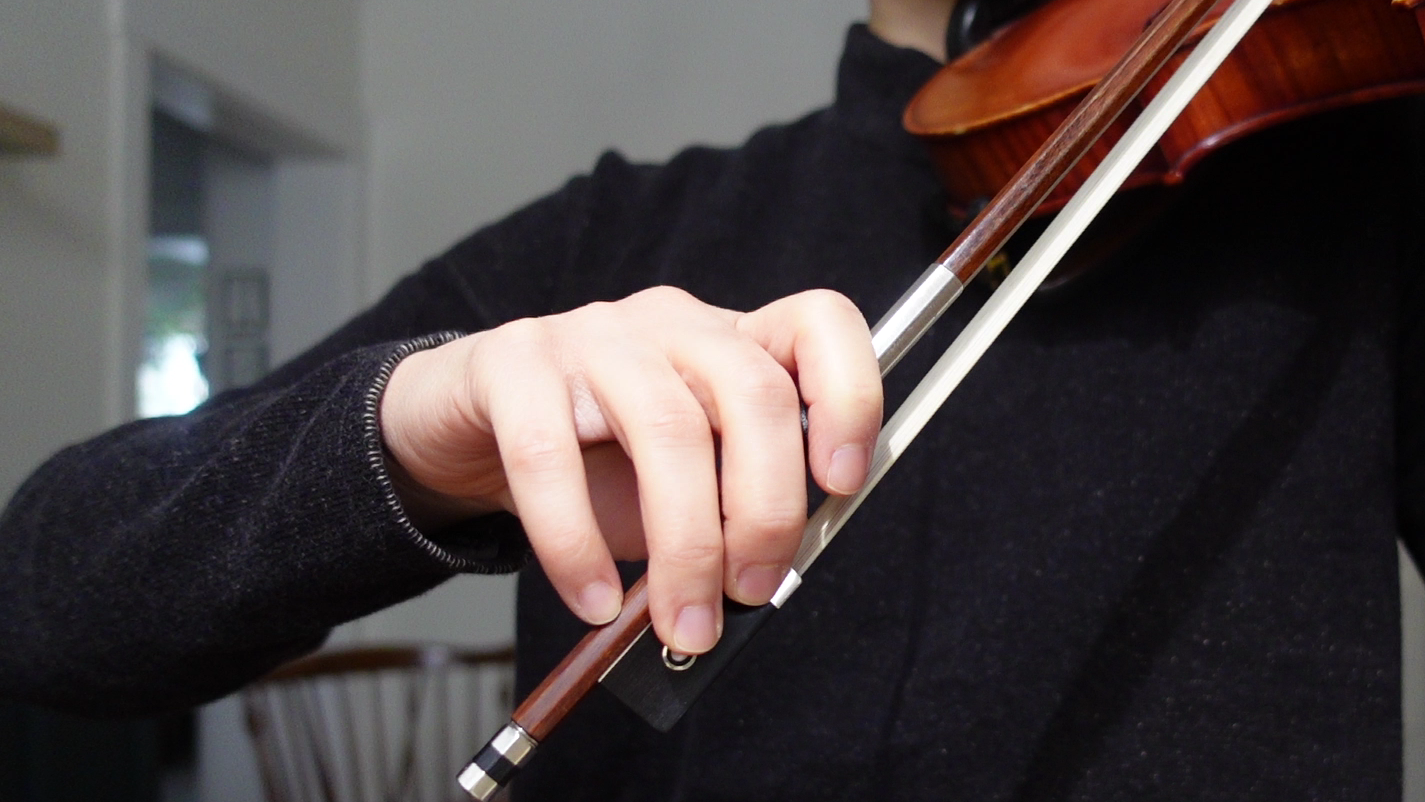
5. Bow tilt
Advanced players adjust the tilt of the bow as they play, but even beginner students can start to learn this concept. Flat hair on the bow will create a stronger, thicker sound, and less hair will create a softer, sweeter sound. To use less hair, tilt the stick of the bow away from you – towards the fingerboard. Never tilt the stick of the bow tilted towards the bridge. This would cause the right wrist to be held in an uncomfortable and unnatural position. Often for young students with little violins, playing with a tilted bow will achieve the nicest sound. As a student progresses into Book 2, they may learn how to adjust the tilt of their bow mid-bow stroke.
6. Pronation of the right hand
If you’re not sure what pronation means, hold your right arm straight out in front of you, palm facing down. Tilt the index finger side of your hand down towards the ground. This tilting of your hand towards your index finger is pronation.
Pronate your bow hand to create a some friction of the horsehair against the strings. Leaning into your index finger without tensing your hand will help produce a louder, more resonant tone quality.
7. Intonation
When the fingers of the left hand are in tune, it creates sympathetic vibrations throughout the instrument. For example, when I play 3rd finger on the D string, it makes the open G-string resonate. Students of the Suzuki violin methods learn this concept through “tonalization” exercises. Of course, some notes will resonate more than others (G, D, A, E) because of the corresponding open strings. But as an ear-training exercise, listen for the resonance of the violin after playing other notes as well. The violin should continue to resonate between bow strokes if the notes are in tune. The resonance will happen whether the bow is on the string or lifted off. If the left-hand fingers are not perfectly in tune, there will be less resonance. As you train your ears to listen for resonance, you’ll be able to adjust your intonation more quickly.
Which of these components of good tone quality on the violin are you working on?
Can you think of any other essential skills to improve violin tone quality that you would add to this list?
Interested in violin lessons, or just want to share your thoughts on this blog post?
Send me a message.
Sources:
The incredible Suzuki teacher training I received informs much of my teaching and writing. I also did additional research for this article using Simon Fischer’s book “Basics”. I highly recommend this book to any violin teacher, student, or enthusiast.
Do you want more free violin info?
You can sign up for my free mailing list, and I’ll let you know whenever I create a new blog post, study guide, educational video, or other resource for violin students.
Latest Posts From the Blog
5 Practical Gifts for Violinists In 2025
Over the holidays, I started thinking a lot about different types of practical gifts for violinists.…

How To Do a 180° Career Change As A Classical Musician
As a musician, I’ve had moments of wondering what life would be like to go through a career change. …
What It’s Like To Fulfill Your Parents’ Musical Dreams
With discipline, talent, and passion for orchestral music, 32-year-old cellist Sonia Mantell has alr…

How To Treat Violin-Related Pain and Injuries With Sotai
For violinists who have struggled with playing-related pain despite trying countless remedies, a Jap…

How To Build A Nationally-Recognized Non-Profit Music Ensemble
Starting a non-profit music ensemble is a dream shared by many musicians, but turning that dream int…
How Friendships and Passion Shape A Meaningful Life In Music
Have you ever reflected on the values that guide your career as a musician? Pianist, harpsichordist,…